 Suzuki Burgman 400 - Service manual > Rear Swingarm Related Parts Inspection
Refer to "Rear Swingarm Removal and Installation".
Inspect the following parts.
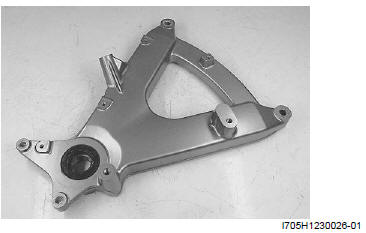
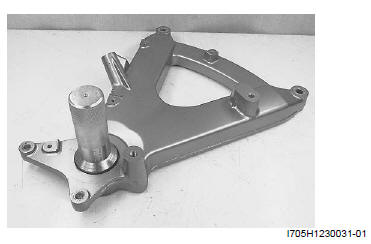
Rear Swingarm
Inspect the rear swingarm for crack or other damage. If any defects are found, replace the swingarm with a new one.
Dust Seal
Inspect dust seal lip for wear or damage. If any defects are found, replace the dust seal with a new one.
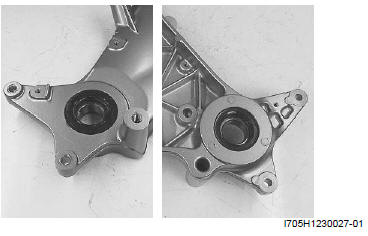
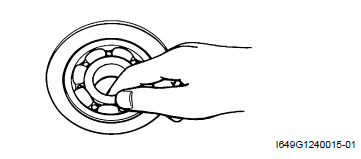
Bearing
Inspect the play of the bearings by finger while they are in the rear swingarm. Rotate the inner race by finger to inspect for abnormal noise and smooth rotation. Replace the bearing in the following procedures if there is anything unusual. Refer to "Rear Swingarm Dust Seal / Bearing Removal and Installation ".
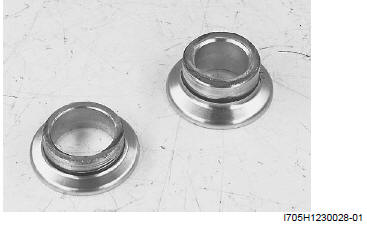
Collar
Inspect the collar for wear or damage. If any defects are found, replace it with a new one.
Rear Swingarm Dust Seal / Bearing Removal and Installation
Refer to "Rear Suspension Assembly Construction".
Removal
1) Remove the rear swingarm. Refer to "Rear Swingarm Removal and Installation".
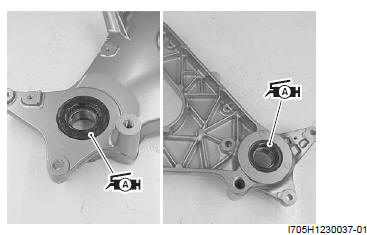
2) Remove the dust seals (1) and (2) using the special tool.
Special tool (A): 09913-50121 (Oil seal remover)
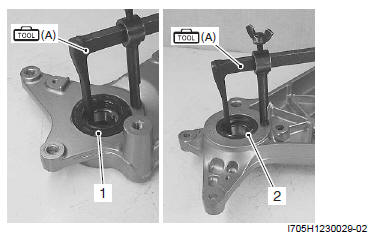
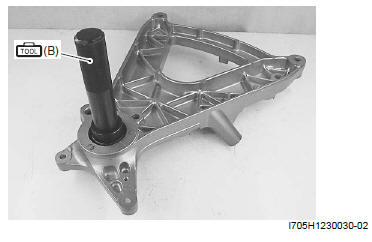
3) Remove the bearing using the special tool.
Special tool (B): 09913-70210 (Bearing installer set)
Installation
Install the dust seal and bearing in the reverse order of removal. Pay attention to the following points:
! CAUTION The removed dust seal and bearings must be replaced with the new ones.
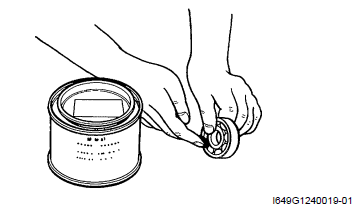
- Apply grease to the bearing.
 : Grease
99000-25010 (SUZUKI SUPER GREASE A or equivalent)
: Grease
99000-25010 (SUZUKI SUPER GREASE A or equivalent)
- Install the bearing to the rear swingarm using an appropriate tool.
! CAUTION When installing the bearing, stamped mark on the bearing must face outside.
- Install the oil seal using the special tool.
Special tool : 09913-70210 (Bearing installer set)
- Apply grease to the oil seal lip.
: Grease
99000-25010 (SUZUKI SUPER GREASE A or equivalent)
Cushion Lever and Cushion Rod Inspection
Refer to "Rear Shock Absorber and Rear Shock Absorber Assembly Removal and Installation".
Inspect the following parts.
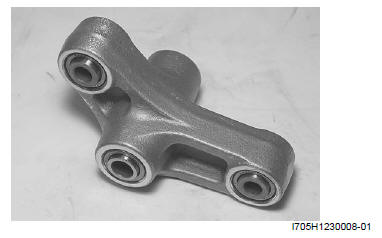
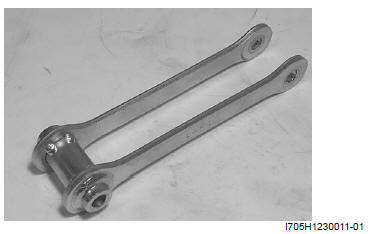
Cushion Lever
Inspect the cushion lever for crack or other damage. If any defects are found, replace the cushion lever with a new one.
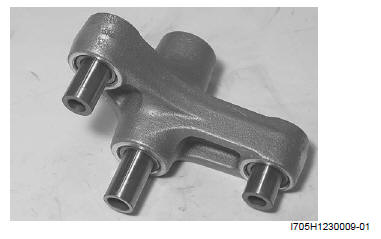
Spacer
1) Remove the spacers from the cushion lever.
2) Inspect the spacers for any flaws or other damage. If any defects are found, replace the spacers with the new ones.
Cushion Lever Bearing
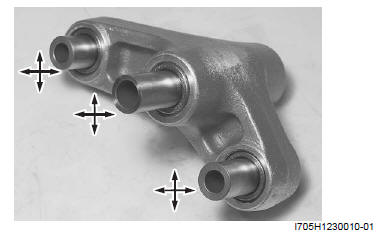
1) Insert the spacers into bearings.
2) Check the play by moving the spacers up and down.
If excessive play is noted, replace the bearing with a new one. Refer to "Cushion Lever Bearing Removal and Installation ".
Cushion Rod
Inspect the cushion rod for damage and bend. If any defects are found, replace the cushion rod with a new one.
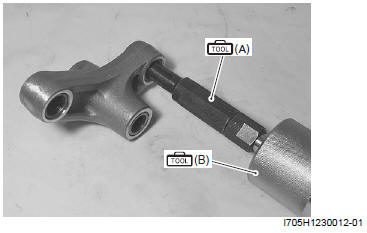
Cushion Lever Bearing Removal and Installation
Removal
1) Remove the cushion lever. Refer to "Rear Shock Absorber and Rear Shock Absorber Assembly Removal and Installation".
2) Remove the cushion lever bearings using the special tools.
Special tool
(A): 09923-73210 (Bearing remover)
(B): 09930-30104 (Sliding shaft)
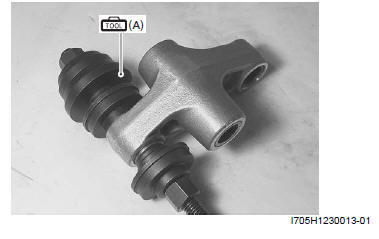
Installation
Install the cushion lever bearing in the reverse order of removal. Pay attention to the following points:
! CAUTION The removed bearings must be replaced with the new ones.
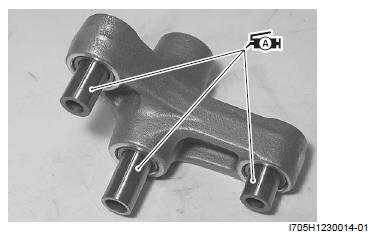
- Press the bearings into the cushion lever using the special tool.
NOTE When installing the bearing, stamped mark on the bearing must face outside.
Special tool (A): 09941-34513 (Steering race installer)
- Apply grease to the bearings.
: Grease 99000-25010
(SUZUKI SUPER GREASE A or equivalent)
- Install the cushion lever. Refer to "Rear Shock Absorber and Rear Shock Absorber Assembly Removal and Installation ".
See also:
 Suzuki Burgman 400 - Service manual > Rear Shock Absorber Inspection
Inspect the rear shock absorber in the following procedures: 1) Remove the rear shock absorber. Refer to "Rear Shock Absorber and Rear Shock Absorber Assembly Removal and Installation".
Suzuki Burgman 400 - Service manual > Crankcase Bracket Construction
Crankcase bracket Spacer Bearing Bushing Crankcase bracket nut Engine mounting nut : 85 N*m (8.5 kgf-m, 61.5 lb-ft) : 93 N*m (9.3 kgf-m, 67.0 lb-ft)


